G U   R o o f i n g   &   G u t t e r i n g
Need Help, Talk to Expert : 01962 453 551 or 07542 577795

Working Hours : Monday to Friday (7am - 6pm)

Tiled Roof Replacement, Southampton

Awesome Image
  • Project
    Tiled Roof Replacement
  • Client
    Domestic Customer
  • Year
    2023

Tiled Roof Replacement, Southampton, Hampshire

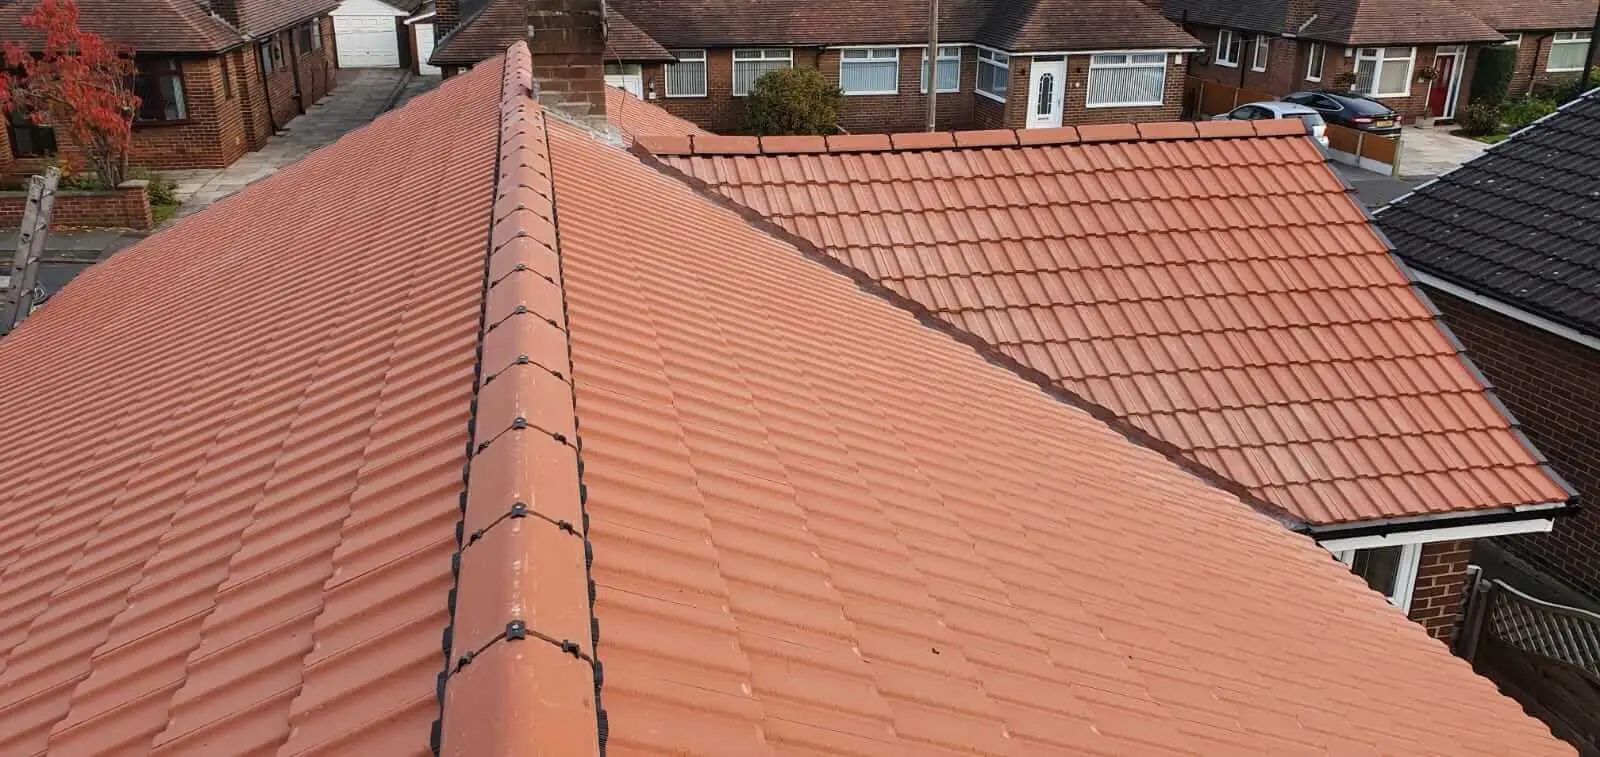
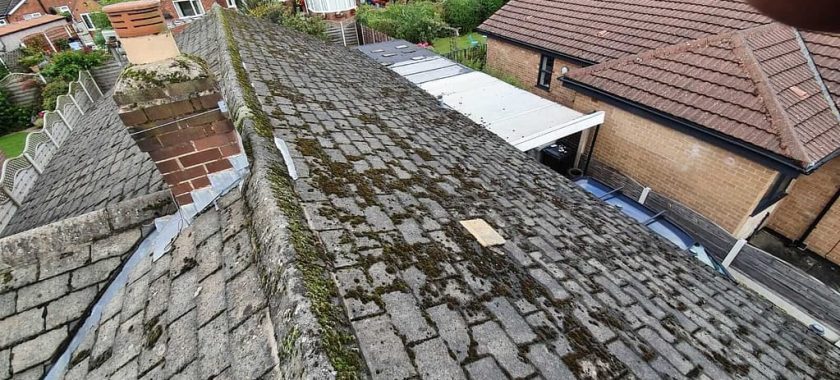
When it comes to protecting your home from the elements, a sturdy roof is essential. Over time, wear and tear can cause damage to your roof, leaving it vulnerable to leaks, drafts, and other issues. That’s where GU Roofing and Guttering comes in – we specialize in tile reroofing services that can help restore your roof to its former glory. In this project, we’ll take a closer look at a recent project we completed on a bungalow in Kings Worthy, Hampshire, and explore the steps involved in our tile reroofing process.

The Challenge

When we arrived at the bungalow in Kings Worthy, Hampshire, we could see that the old tiles on the roof were in a state of disrepair. Years of exposure to the elements had caused them to crack, shift, and become loose. This made the roof vulnerable to water damage and other issues, and it was clear that a reroof was needed. Our team of expert roofers assessed the situation and got to work devising a plan.

  • PROJECT
    Processes

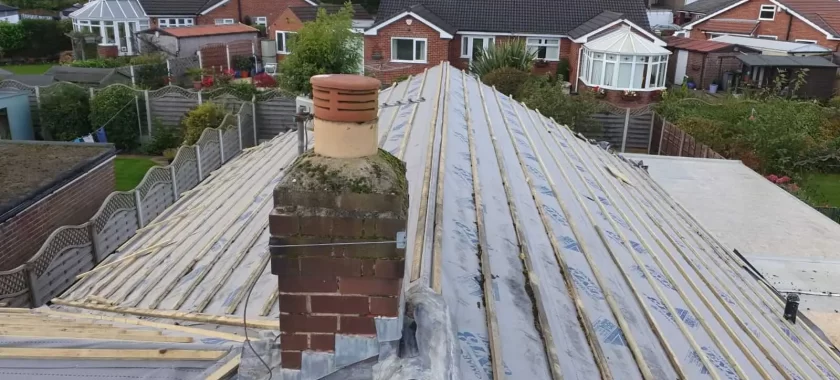
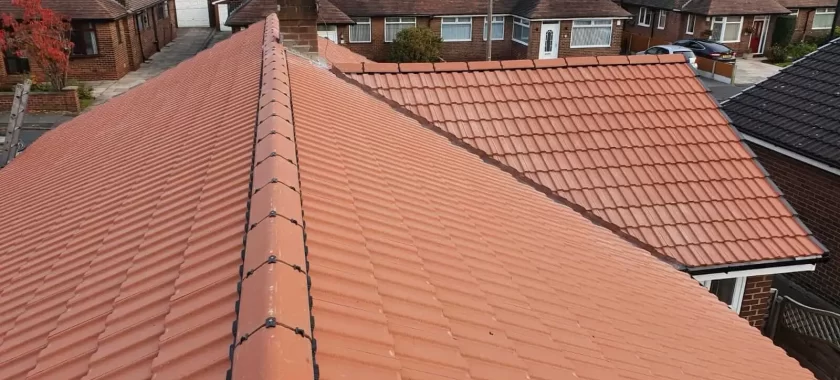
    Our recent project in Kings Worthy involved a replacement tiles roof. Here’s a step-by-step overview of how we completed the job.

    1. Step 1: Removing the Old Tiles
      The first step in our tile reroofing process was to strip off the old tiles from the roof. This was done using a combination of tools and techniques that allowed us to remove the tiles without damaging the underlying structure.
    2. Step 2: Felting and Battening
      The next step in the process was to apply a layer of felt to the roof. This is an essential part of the tile reroofing process, as it helps to create a barrier between the tiles and the roof structure, preventing water from seeping through. We also added battens to the roof, which are long, thin pieces of wood that are fixed horizontally across the roof’s surface. These battens serve as the framework for the new tiles to be fixed onto.
    3. Step 3: Retiling the Roof
      With the felt and battens in place, we could begin the process of retiling the roof. We used high-quality tiles that were designed to withstand the elements, ensuring that the bungalow would be protected from the rain, wind, and other weather conditions. We also added new verge and ridge tiles, which help to create a neat, finished look to the roof.
    4. Step 4: Quality Assurance
      At GU Roofing and Guttering, we take pride in the quality of our work. Once the tile reroofing was complete, we conducted a thorough quality assurance check to ensure that everything was up to our high standards. We checked for any leaks, cracks, or other issues that could compromise the integrity of the roof, and made any necessary repairs.
  • Great Team
    Recommend GU Roofing and Gutetering any time!

    At GU Roofing and Guttering, we understand the importance of a good roof. That’s why we’re committed to providing expert tile reroofing services that can help protect your home from the elements. Whether you’re dealing with a small repair or a full reroof, our team of skilled roofers has the knowledge and expertise to get the job done right

Go To Top